Browse Category by Skinning

ADF 12.2.1: Using the Theme Editor

A couple of weeks ago Oracle released ADF 12.2.1 with many cool features and one of them is the Theme Editor. With this new tool you can change the look and feel of you application by selecting the desired style of the components and see the changes automatically right in the browser. This tool can help developers who are not experts in CSS to build applications with a great look and feel.

We have to make a couple of things in order to use the theme editor.
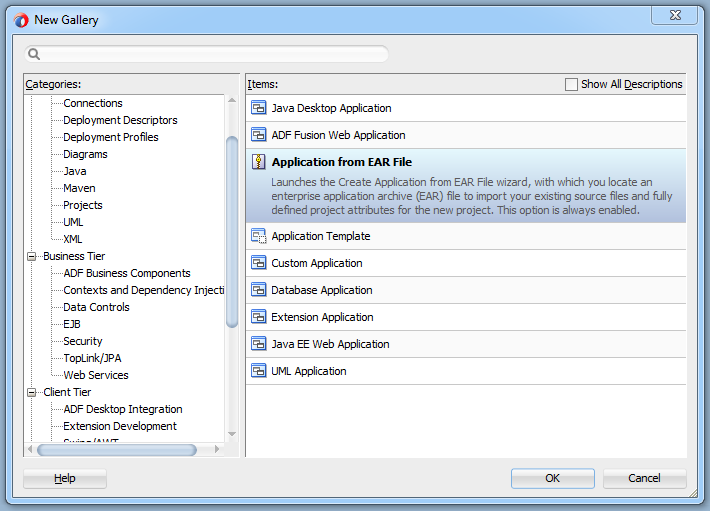
First we have to create a new application based on an existing EAR file.

The EAR file we are going to use is located inside our 12.2.1 Middleware Home, in my installation this path is:

After that we just have to click on Finish to create the skin editor application.
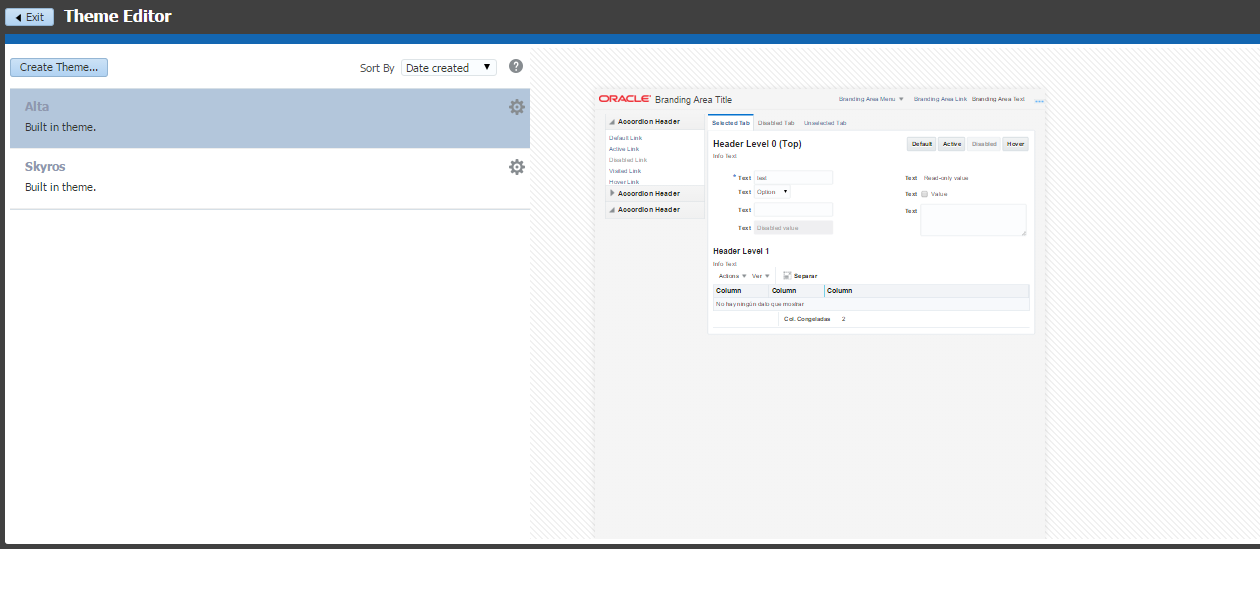
To start the Theme Editor we have to run that application by runing index.html file.

Once the application is runing we will see this:

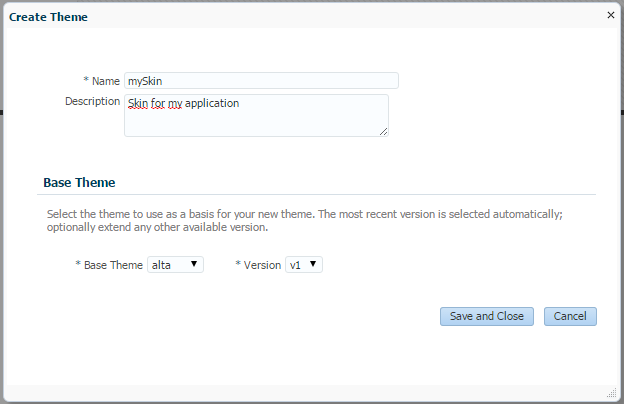
We are going to create a new skin so we have to click on ‘Create Theme’ button. A popup will appear where we have to put the name of the theme and also select the skin we want to use. We can choose Skyros or Alta as our base skin.

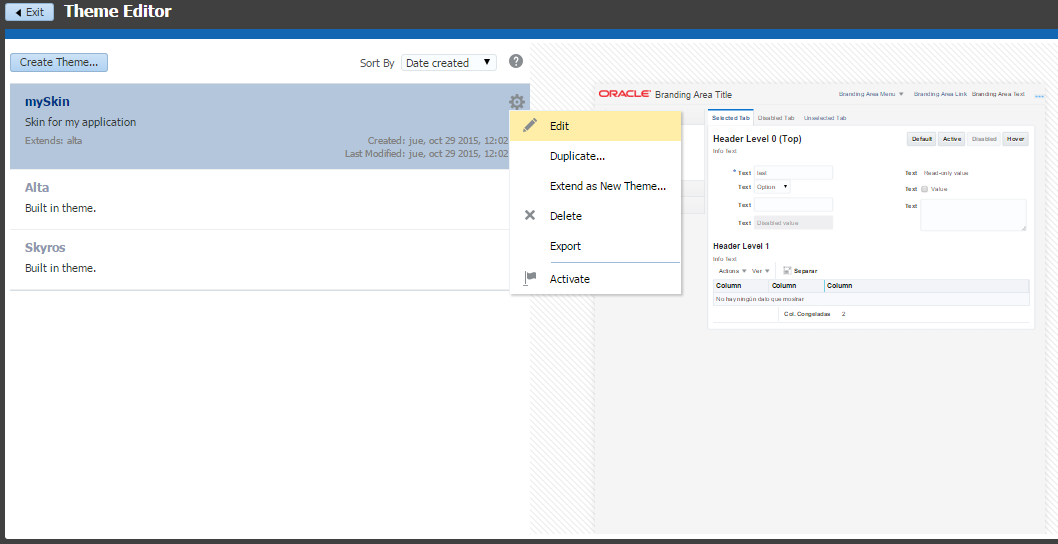
Click on ‘Save and Close’ and we will have our theme created. By clicking on the right button we can for example edit, delete, duplicate or export our theme. We will come back later to export the theme but at the moment we are going to edit it.
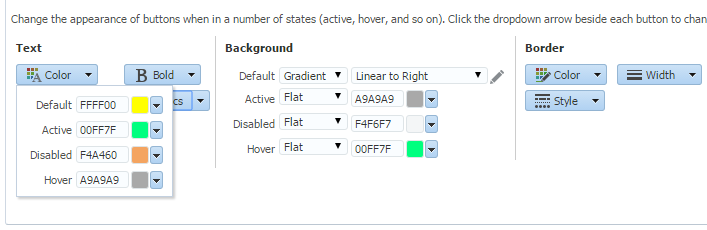
Once you click on edit, we can see some tabs in the top of the page where wecan change property values of some components, and in the bottom of the page we have a real time preview of our skin.
A quick example of what can we do is change our buttons style.

When we have finished our skin work we have to click ok ‘Save and Close’ in the top right of the page.
Now we can use this skin in our application by exporting the theme.
After exporting the skin we can use it by importing the jar file we have just generated in our application.
We also have to select this skin as default skin by selecting it as ‘Default Skin Family’ in ‘ADF View’ menu in project proeprties.

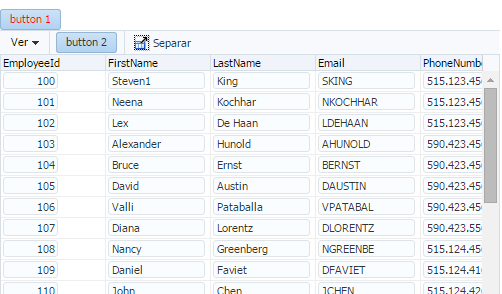
Now if we run the application we can see that the skin that we applied in the theme editor applies to our application.
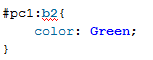
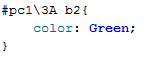
If we don’t get the look and feel that we expected using the Theme Editor we can also extend the skin we have just created and add our custom CSS rules to skin our application.
You can get more information about the Theme Editor and about using skins in an ADF Library JAR file in these links:

ADF: Styling components by its id

If we want to change the style of a component we usually use skinning and its selectors or we use the styleClass property of the components and creating a class in the css file.

Although it is not a usual way to apply styles to a component I am going to show you how to style any component using its id.
If we have a button for example in a page and it is not surrounded by any naming container, for example a panelCollection or a region we can use its id to style the component
Look at button “b1” and its style.

As soon as that component in surrounded by any naming container the id generated in html will change, and for example it will be “pc1:b2” if we have it in a panelCollection, or “r1:0:b1” if we have it in a region.

You can check the code generated by inspecting the page once you run it.

If we try to use the new id “pc1:b2” you will see that button’s style has not changed.

In CSS we have some special characters like these ones.

$, %, &, !, “, #, ‘, (, ), *, :, ;,<, =, >, +, ,, -, ., /, ?, @, [, , ], ^, `, {, |, }, ~
The way to fix it is to scape the special characters. To do this we have to look at the unicode table and look for the character 
In this example the unicode value for ‘:’ is ‘3a’.
Once we have the unicode value for our character we have to replace ‘:’ by ‘3a ‘.

Don’t forget to add a space after the unicode value.

Now if we run the application we can see that the button’s style has changed.

ADF: Add a calendar selector to inputText

There was a requirement posted in JDeveloper & ADF forums to add a calendar selector to a inputText so any text could be inserted and also a date could be selected. I am going to show you the solution I gave (Link)
You can download this example from my Github repository.

We need a inputText and a inputDate.

Next step is to set inputDate value to the inputText.

To achieve this, we have to use autoSubmit true in the inputDate and set the new value to the inputText in the valueChangeListener. We also have to set a partialTrigger so our inputText is automatically refreshed as son as the value in the inputDate is submitted.

This is the valueChangeListener that we are going to use.

In this method we have also to create a Date object and format it becasuse we would find in the inputText something like this:

Tue Jul 07 00:00:00 CEST 2015
findComponentInRoot method can be found in JSFUtils class.

At this point we already have the value in both components.

The last step is to beautify our component becasue we dot want to neither labels nor inputDate content box.
We have to add a panelLabelAndMessage surrounding both components and use simple property to hide both labels.
We have also to make add a style class to inputDate components as we don’t want to edit all inputDates style.

The last step is to make some skining so we can hide content box of the inputDate using the style class we added to the component.
If we run the application we can see our new “component” working.

ADF Skining: Defining the style of the components inside af:query

Lately, there have been a couple of questions in Oracle JDeveloper & ADF Forums about changing the style of some components. Post 1, Post 2. In both post they had the need to change the style only of one of the buttons of af:query component. As you can see in Ashish’s post, using skinning it’s possible to change the look and feel of all the buttons, but using only the default selectors it is not possible to define the look and feel only of save button.
You can download this example from my Github repository.

You can also apply this solution to other components like af:panelCollection


In CSS3 there are some selectors that allow us to conditionally define the look and feel of the components.

  • The attribute of the element contains the value: [attribute*=value]
  • The attribute of the element starts with the value : [attribute^=value]
  • The attribute of the element ends with the value: [attribute$=value]

We can apply these selectors to ADF Skinning selectors to define the styles to components that we cannot normally edit.

Having this query panel in our page, we can find the components out that we have to use to define the style to save button by inspecting the code generated using your favorite browser.

If we search the save button we can see that this button is generated as a div with the id qryId1:_search. This id is generated with the id of the af:query component and the name fo the button’s action.


As we have now the attribute and the value to use we are going to use one of the CSS3 selectors I mentioned before.
The selector that fits better in our requirement is “end with” selector using the value ‘_search’.

If we run the application again we can see that save button now has red text.